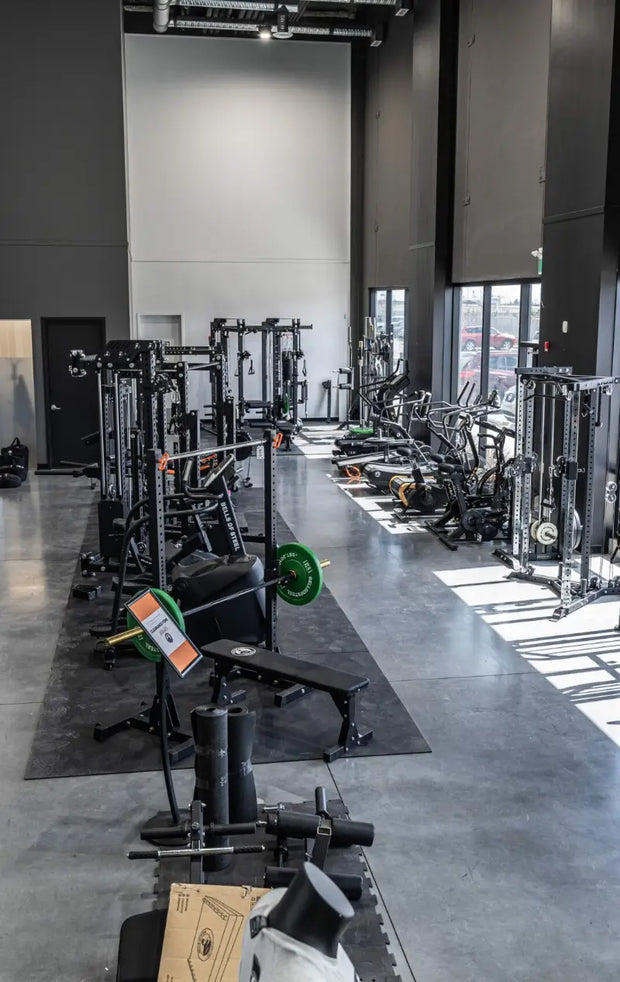
Designing a home gym rack isn’t just about metal and bolts, it’s about creating the heart of your training space. The right rack makes every lift smoother, safer, and way more enjoyable. Whether you’re building a compact home setup or a full-blown iron paradise, getting the right combination of height, depth, attachments, and accessories can turn an ordinary rack into a powerhouse.
This guide walks through each step of building your Hydra or Manticore rack, explaining what to choose, why it matters, and how to make sure everything fits your space and goals.
Choosing Your Perfect Rack
Both Hydra and Manticore racks follow the same setup process; from picking the height to adding safeties, J-cups, and storage. Whether you’re going for a four-post, six-post, or flat-foot model, the key decisions remain the same.
Step 1: Pick the Right Height
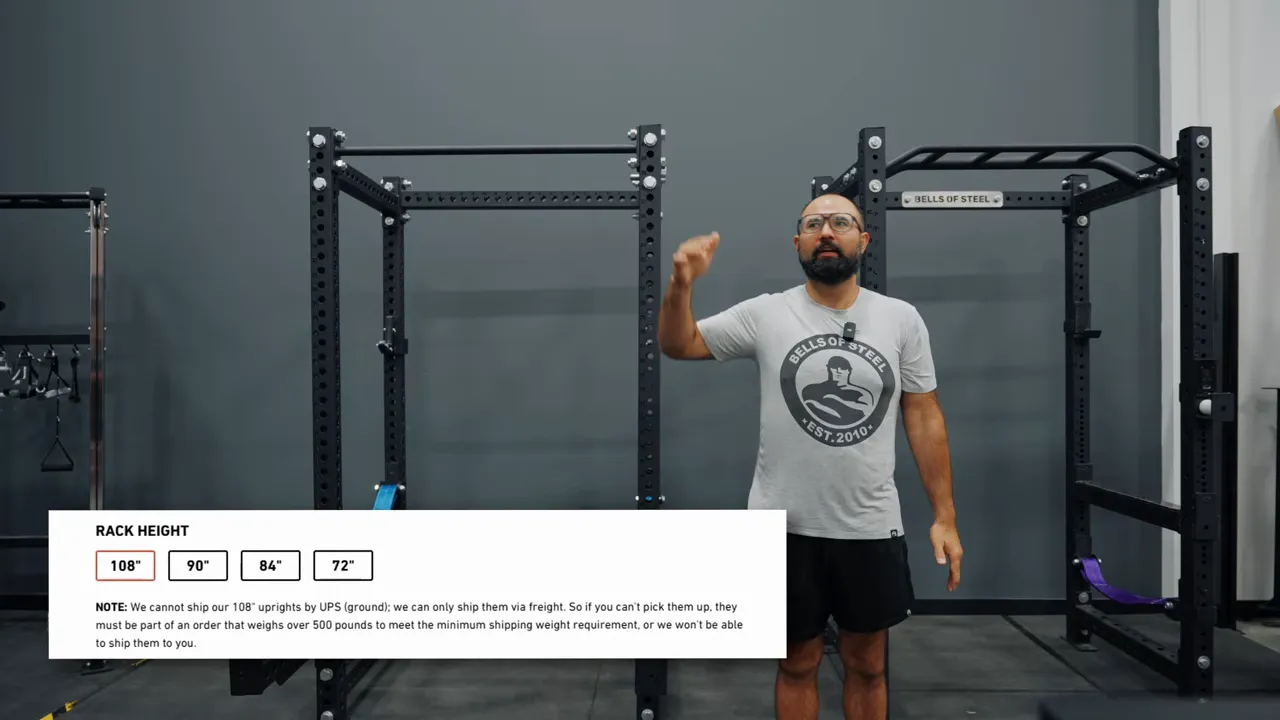
Rack height sets the stage for your entire setup. A rack tall enough for full movement, but not so tall that you’re scraping the ceiling every pull-up.
Here’s a quick rundown:
- 108 inches (274 cm): Built for commercial spaces or sky-high ceilings.
- 90 inches (229 cm): A fan favorite — tall enough for pull-ups, short enough to fit in most home gyms.
- 84 inches (213 cm): Ideal for garages or standard rooms where space is tight but not cramped.
- 72 inches (183 cm): Perfect for basements or low ceilings, though taller lifters may feel a little squeezed.
If your ceiling allows it, 90 inches is the sweet spot — a comfortable height for pull-ups and future add-ons.
Step 2: Choose the Depth
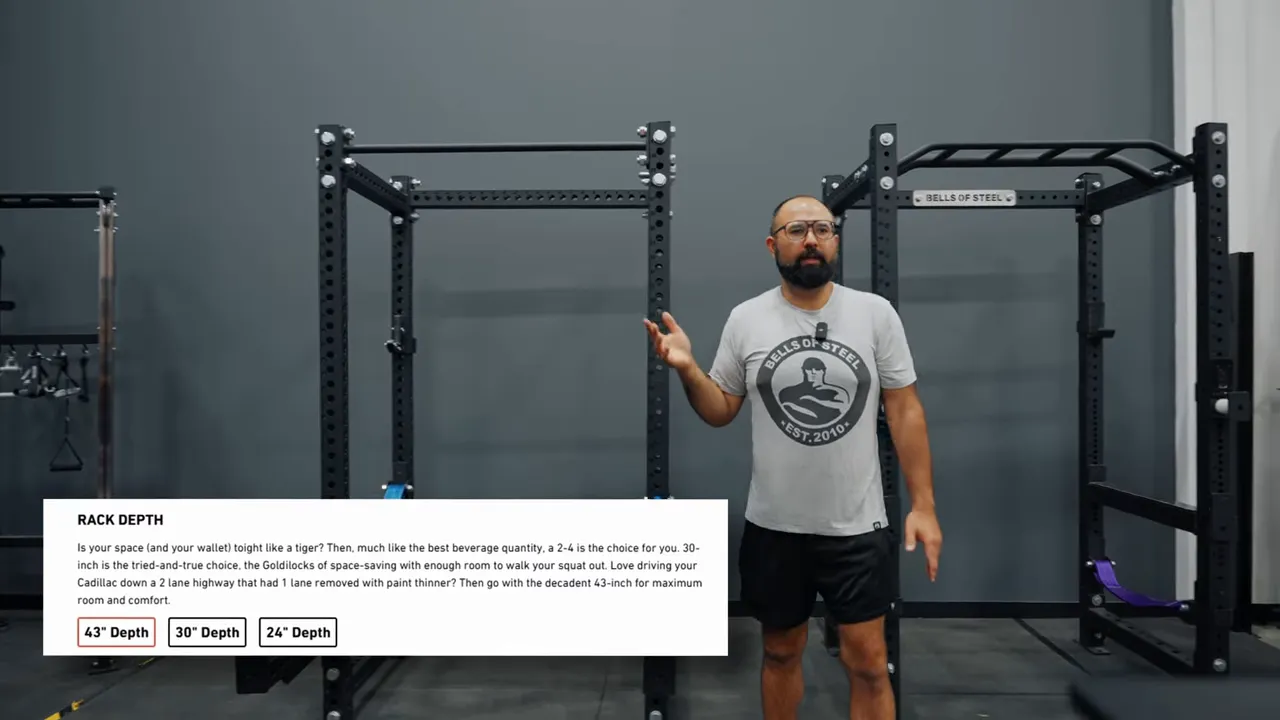
Rack depth affects both your workout comfort and your floor plan. Think of it as the breathing room for your lifts.
- 43 inches (109 cm): The roomy option — plenty of space for squats, benching, and general freedom to move.
- 30 inches (76 cm): Balanced and efficient for smaller gyms.
- 24 inches (61 cm): Compact, but tight. Best for experienced lifters who know their spacing.
If possible, aim for 43 inches of depth, it offers more comfort and fewer chances of bumping into things (or walls).
Step 3: Width and Color
Width might seem minor, but it can change how your bar moves and how accessories fit.
- 43 inches (109 cm): The standard, most common size. Works with nearly all attachments.
- 41 inches (104 cm): A bit narrower, giving you extra clearance when re-racking the bar.
Keep in mind that crossmembers add a few extra inches to the total footprint. And while color might not improve your lifts, picking the right finish makes your rack look as good as it performs.
Step 4: Pull-Up Bars and Cross Pieces
Pull-ups, chin-ups, and stability - this is where things get fun.
Popular pull-up bar options include:
- Straight Pull Up Bar: Simple, strong, classic.
- Multi-Grip Pull Up Bar: Mix up grip positions for variety.
- Globe Pull Up Bar: For those who like a challenge.
- Adjustable Pull-up Bar Rack Attachment: Great for different users or movement styles.
Adding a back cross piece boosts structural stability and reduces wobble. It can also double as a mounting point for extra bars or a logo crossmember for a custom touch.
For 41-inch racks, bar and crossmember options are more limited but still rock-solid.
Step 5: Rack Safeties
No one likes bailing out of a lift, but everyone likes knowing they can do it safely. Choose safeties based on your setup:
- Spotter arms: Best for lifting outside the rack.
- Safety straps: Gentle on your bar and great for inside-the-rack training.
- Pin pipe Safeties: Reliable and budget-friendly.
- Flip-down safeties: Quick and sturdy for fast adjustments.
If you train solo, invest in safeties that match your main lifts. They’re your best spotter when no one else is around.
Step 6: J-Cups - Small but Mighty
J-cups are where your bar lives, so choosing the right ones matters more than you think.
Options include:
Grab two pairs if possible. It saves setup time between squats and benching and keeps your lifts consistent. Your future self will be grateful.
Step 7: Attachments and Accessories
Attachments are what take your rack from basic to legendary.
- Big attachments: Lat pulldown, Smith machine, Kraken — these require matching specs and configuration.
- Small attachments: Dip handles, steel rope pads, and other add-ons that enhance training variety.
Plan ahead for large attachments to ensure everything fits your rack’s dimensions perfectly.
Step 8: Add Storage Solutions
Storage keeps your gym clean and your workouts efficient. Add:
- Plate pegs for organization.
- Bar holders for easy access.
- Accessory hooks for smaller items.
A tidy rack is a happy rack — plus, fewer tripping hazards mean safer training sessions.
Step 9: Don’t Forget Hardware and Mag Pins
It’s the little things that make a big difference.
Extra nuts, bolts, and wrenches help during assembly, and mag pins make changing attachments fast and effortless.
- Manticore attachments usually include mag pins.
- Hydra attachments don’t — so be sure to add them separately.
Once you start using mag pins, you’ll wonder how you ever lived without them.
Final Tips for Building the Rack of Your Dreams
Before you bolt everything down, here’s how to make sure your rack setup is chef’s kiss perfection:
- Go tall (90 inches if you can) – You’ll thank yourself every time you do a full pull-up without bumping your noggin.
- Pick 43 inches in depth – Roomy enough for deep squats and zero wall collisions.
- Get two pairs of J-cups – One for squats, one for bench. No more mid-workout musical chairs.
- Plan for storage early – Because nothing kills a vibe like tripping over rogue plates.
- Add mag pins – Quick swaps, clean setup, and a little magnetic magic every lift.
Feeling overwhelmed by options? Don’t sweat it. Book a virtual showroom session with a Bells of Steel specialist. They’ll walk you through every nut, bolt, and bar so your rack fits your space (and your gains) perfectly.
At the end of the day, this isn’t just about building a rack, it’s about creating your sanctuary of strength. Build it once, build it right, and build it to make every lift feel legendary.
")
")